
Works with: Lytho Workflow & DAM
Easily select images to use in your Word, PowerPoint, and Excel documents. The Lytho Microsoft Office add-in enables you to search and filter through all assets within your Lytho DAM environment without leaving your document. Once you're done editing, you can upload your document directly into the Waiting Room.
For PowerPoint, the integration goes even further. Teams using Lytho Workflow can submit presentations as Proofs for review directly from PowerPoint, while teams using AI Reviewers can run checks on their slides to strengthen brand and regulatory compliance before presentations move forward.
The Lytho Microsoft Office add-in is also available for Word Online, PowerPoint Online, and Excel Online.
Features described in this article are not included in all subscription plans. Interested in expanding your feature set? Contact the Lytho Support Team for further assistance.
TABLE OF CONTENTS
• Installing the Lytho Add-in for Microsoft Office
• Logging into the Lytho Add-in for Microsoft Office
• Using the Lytho Add-in for Microsoft Office
• Uploading Documents into Lytho DAM from the Add-In for Microsoft Office
• Using the Lytho Add-in for Microsoft PowerPoint for Compliance Checks
Installing the Lytho Add-in for Microsoft Office
1. Be sure to close any running Microsoft applications compatible with the extension.
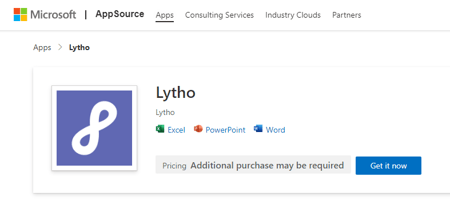
2. Open the Apps page for Lytho on the Microsoft AppSource website to view the Add-in.
3. Click the Get it now button.
4. If prompted, log in with your Microsoft credentials
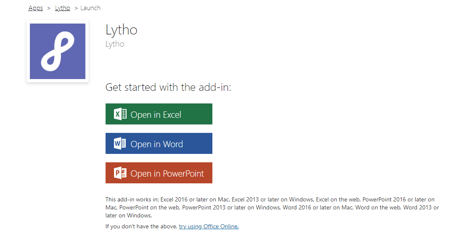
5. Click the Open in... button for each application to finish setting up the extension.
Logging into the Lytho Add-in for Microsoft Office
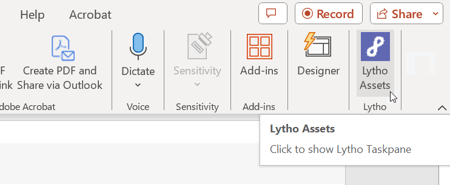
Open the Microsoft application you would like to use in conjunction with the extension. We will be using PowerPoint to demonstrate, but the add-in will work the same for each application. Select the Lytho Assets icon from your Home toolbar.
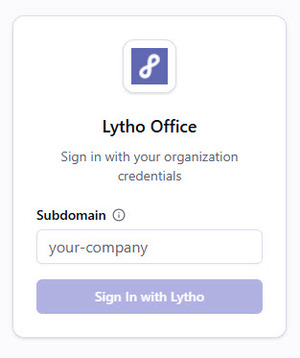
On the right side of your application, enter your Lytho subdomain, then select Sign In with Lytho.
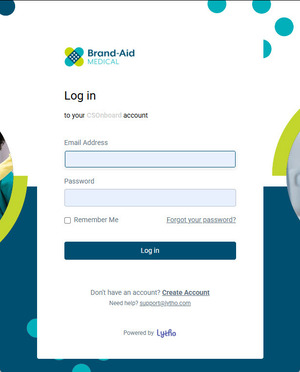
A browser pop-up appears. Enter your Lytho credentials, then select Log in.
Using the Lytho Add-in for Microsoft Office
After you've signed in, you can browse and search your organization's DAM, access your Collections, view assets placed in your document, and manage assets in your personal Waiting Room.

The add-in includes the following tabs:
-
All – Browse and search all assets available to you.
-
Collections – View and manage your asset collections.
-
Local Assets – View Lytho assets inserted into your current document.
-
Waiting Room – Access assets you've uploaded or are awaiting approval.
-
Profile – View your account information and profile options.
You will only see the assets and collections that you have permission to access. If you cannot locate an asset or collection, it may be restricted based on your assigned permissions.
Note: In Word and Excel, the add-in opens directly to the All tab. In PowerPoint, select DAM to access these tabs. PowerPoint also includes Home, Review, and Submit tabs, which are covered later in this article.
All
The All tab displays every asset you have permission to access and is the primary location for finding and inserting assets into your document.

From the All tab, you can:
-
Search for assets by entering keywords or metadata in the search bar. See your options below to insert an asset into your document.
-
Use AI-powered Search to find assets using natural language. To enable AI Search, select the AI OFF button in the search bar.
-
Select Filters to open the filters panel and to help narrow down your search with advanced settings.
-
Select Sort to open the sort dropdown and choose how assets are displayed.
-
Select View to switch between Gallery and List view or adjust the asset thumbnail size.
-
Select More > Upload to upload new assets to the DAM.
-
Select More > Bulk Version Updater to update multiple asset versions at once.
-
Ensure the uploaded version have the exact same file name. Uploaded files become active version, current asset will be set as an inactive version.
-
Placing Assets and Metadata
Once you’ve located the assets you want to use, there are several ways to place assets and their metadata into your document.
Supported Metadata
The following asset metadata can currently be placed into your document:
- Description
- Filename
- Asset ID
- File type
- Size
- Created
- Modified
- Status
- Status changed by
- Uploaded by
- Dimensions
- Colorspace
- Tags
- Custom Fields
Lytho Pro Tip: When an asset with alt text is placed from Lytho DAM using the Microsoft Office add-in, its alt text is automatically carried over with the asset. No need to add it again in your Office document.
To quickly insert an asset into your document, hover over the asset thumbnail and select Place. The asset will automatically be inserted into your document.
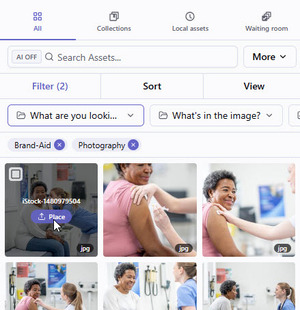
Place One or Multiple Assets and Metadata
You can also select one or multiple assets before choosing how you want to place them.
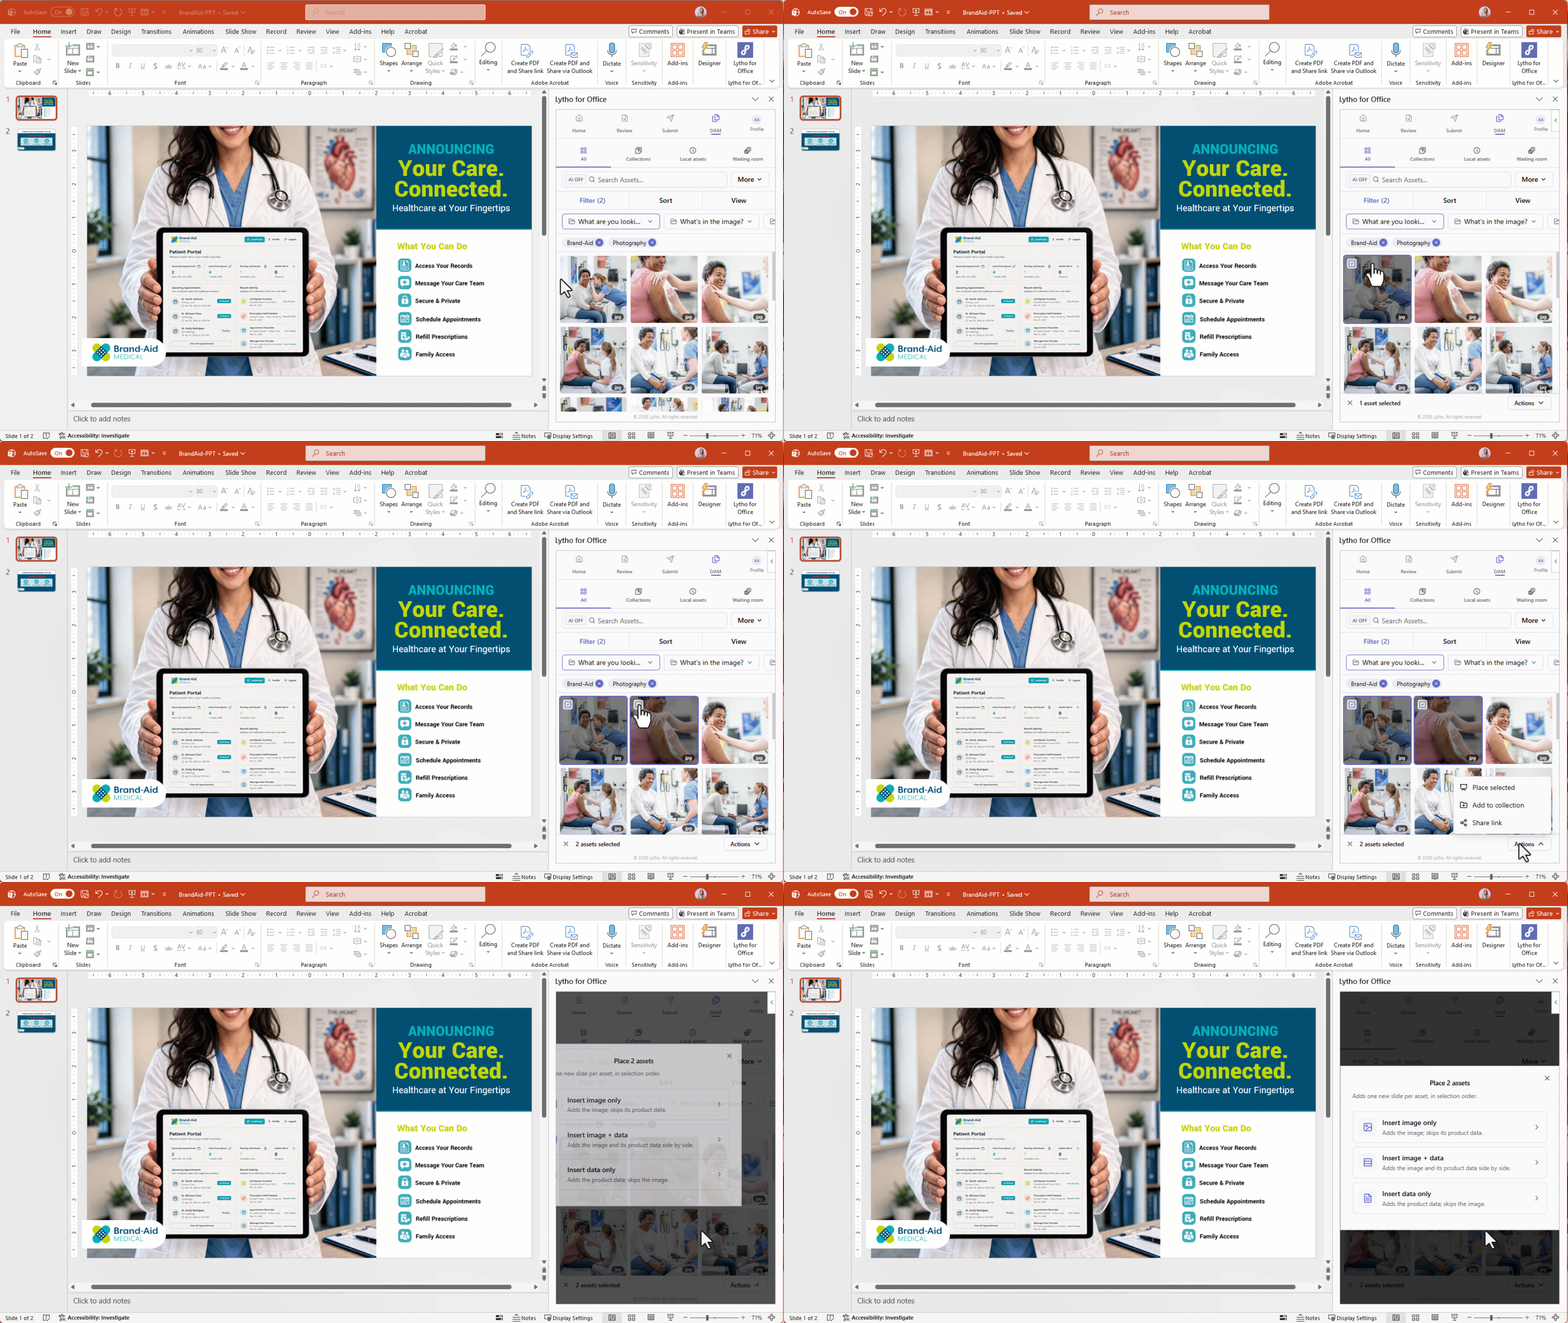
Hover over an asset and select the checkbox. Continue selecting additional assets as needed. An actions bar will appear at the bottom of the add-in window.
From the Actions dropdown, you can:
-
Place selected
-
Add to collection
-
Share link
Select Place selected to choose how you want to insert the selected assets.
Choose one of the following options:
-
Insert image only – Inserts only the selected image or images.
-
Insert image and data – Inserts the selected image or images along with their full metadata.
-
Insert data only – Inserts full metadata without inserting the image.
View Asset Details and Insert Metadata
You can also view an asset’s details before deciding what information to insert.
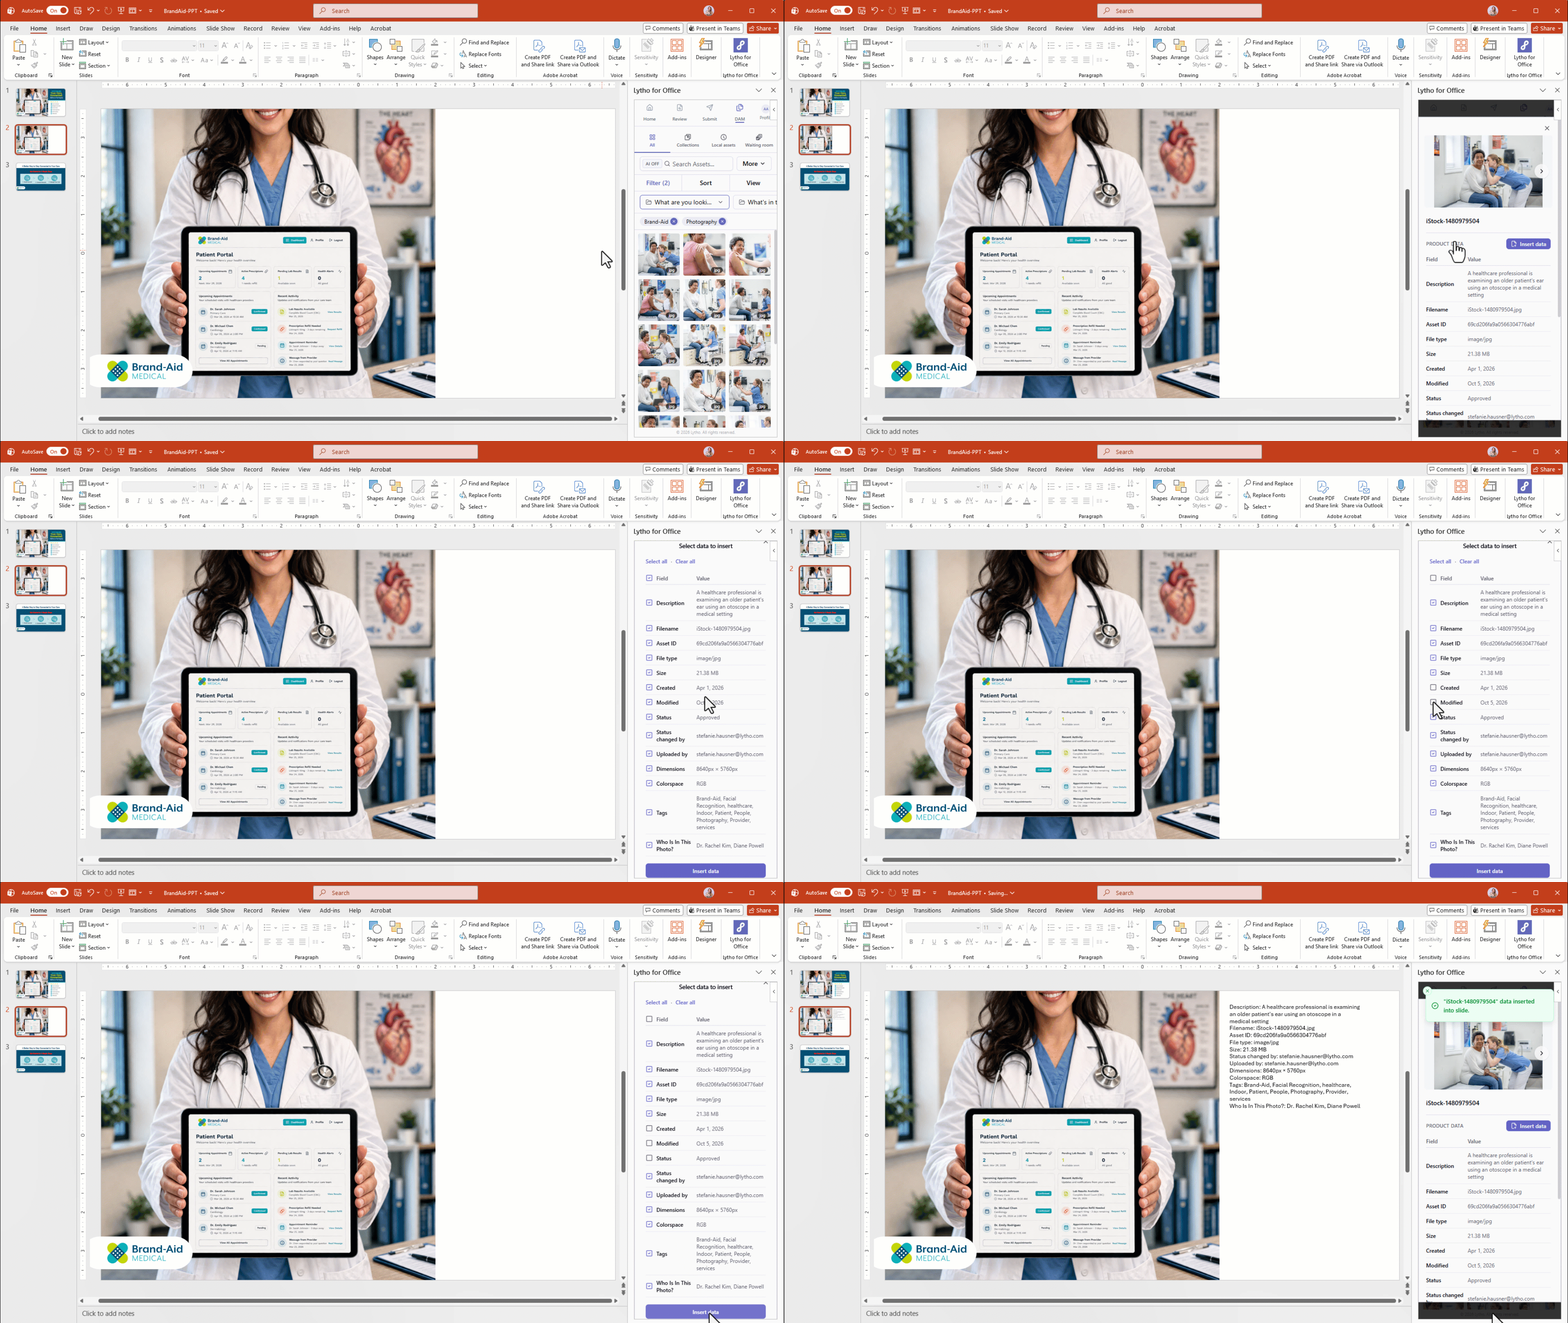
Hover over the asset thumbnail and click the asset itself, outside of the Place button and selection checkbox.
The asset details will open, where you can view its available metadata. Select Insert Data.
Choose the data you want to include and insert it into your document.
Collections
The Collections tab helps you organize and quickly access groups of related assets, such as campaigns or brands.
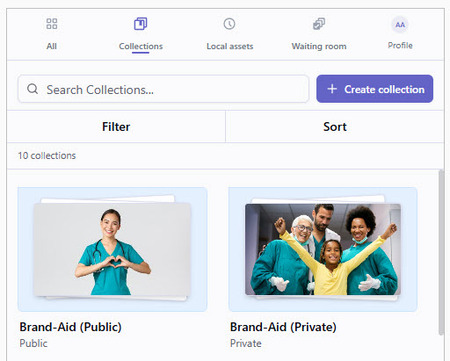
From the Collections tab, you can:
-
Search Collections by entering a collection name in the search bar.
-
Select Create Collection to create a new Collection.
-
Browse available Collections by scrolling through the list.
-
Select Filters to open the filters panel and narrow the Collection list.
-
Select Sort to choose how Collections are displayed.
-
Select a Collection to view its assets.
-
Within a Collection, use the search bar or scroll to locate assets.
-
If a Collection contains multiple pages of assets, select Next to view the next group of assets.
-
Local Assets
The Local Assets tab displays every Lytho asset that has been inserted into the current document.
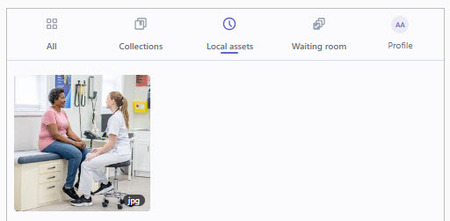
From the Local Assets tab, you can:
-
View all DAM assets placed in the current document.
-
Confirm that you're using approved DAM assets and save time searching for assets you plan to reuse.
If no assets have been inserted into the document, No assets placed yet is displayed.
Waiting Room
The Waiting Room tab displays assets associated with your personal Waiting Room.
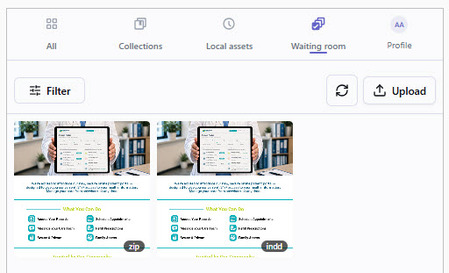
From the Waiting Room tab, you can:
-
View assets that are Uploaded, Pending Approval, Approval Requested, or Declined.
-
Hover over an asset to view the actions available for its current status. Depending on the asset status and your permissions, you may be able to Submit for Approval, Save to DAM, Approve, or Decline the asset.
-
-
Select Filters to adjust the asset status displayed in the Waiting Room.
-
Select Upload to upload new assets.
-
Select the Bulk updater icon to update multiple asset versions.
Profile
The Profile tab provides access to your account information and user settings.
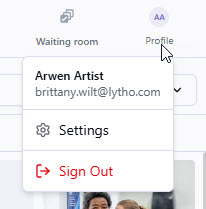
From the Profile tab, you can:
-
View your profile information.
-
Access available account settings.
-
Sign out of the add-in.
Uploading Documents into Lytho DAM from the Add-In for Microsoft Office
You can upload Microsoft Office documents directly to the Lytho DAM from the add-in. Uploaded files are first sent to your Waiting Room, where users with the Approve Assets permission can review, tag, and approve them before they become available in the DAM.
You can upload documents from either of the following locations:
-
From the All tab, select More > Upload.
-
From the Waiting Room tab, select Upload.
Next, select one of the following:
-
Current File to upload the document you are currently working on.
-
Choose File to browse and upload a document from your computer.
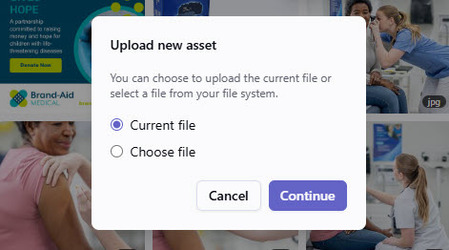
Select Continue to begin the upload.
A confirmation banner appears when your document has been uploaded to your Waiting Room.
Using the Lytho Add-in for Microsoft PowerPoint for Compliance Checks
In addition to accessing DAM assets, the Microsoft Office add-in for PowerPoint includes two additional features:
-
Review: Check content for brand and regulatory compliance across images, text, and designs
-
Submit Proof: Upload and submit assets to Lytho for formal review and approval
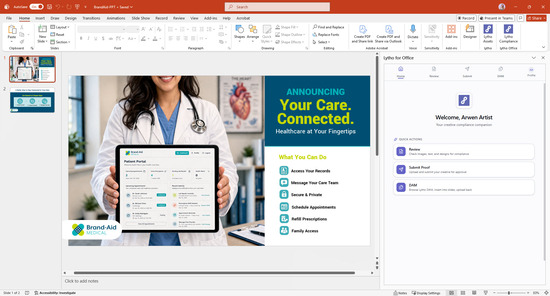
AI Reviewers is required to review content within PowerPoint.
Permissions are respected within the add-in. Only Lytho team members with appropriate access can submit Proofs.
From the extension home screen, you can:
-
Select a Quick Action button for Review or Submit Proof
-
Or use the tabs at the top of the extension to navigate between Review and Submit
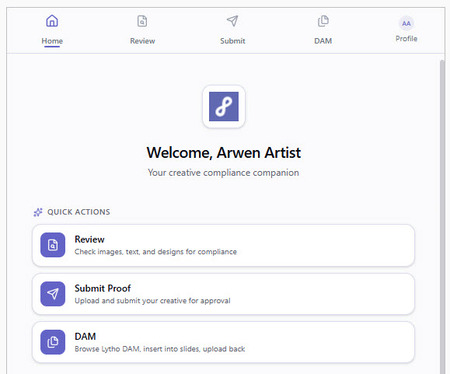
Review Content
From the home screen, select Review.
Choose the type of content you want to evaluate:
-
Image: For designs, layouts, and visual assets
-
Text: For written content and copy
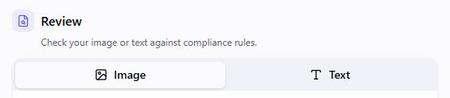
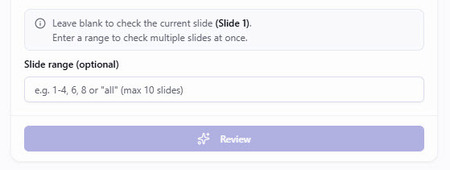
For checks, you'll leave the Slide range box blank to check the current slide (Slide 1). Enter a range to check multiple slides at once.
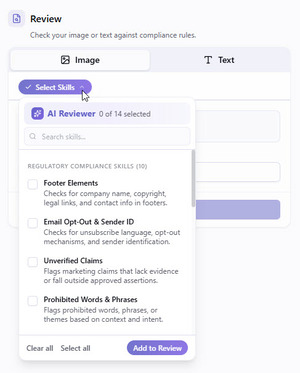
Once your content is added, select the type of compliance check you’d like to run using the Reviewer dropdown. These options are based on the AI Reviewers configured in Lytho.
Finally, select Review to run the compliance check.

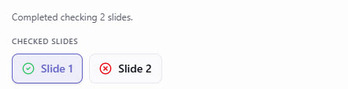
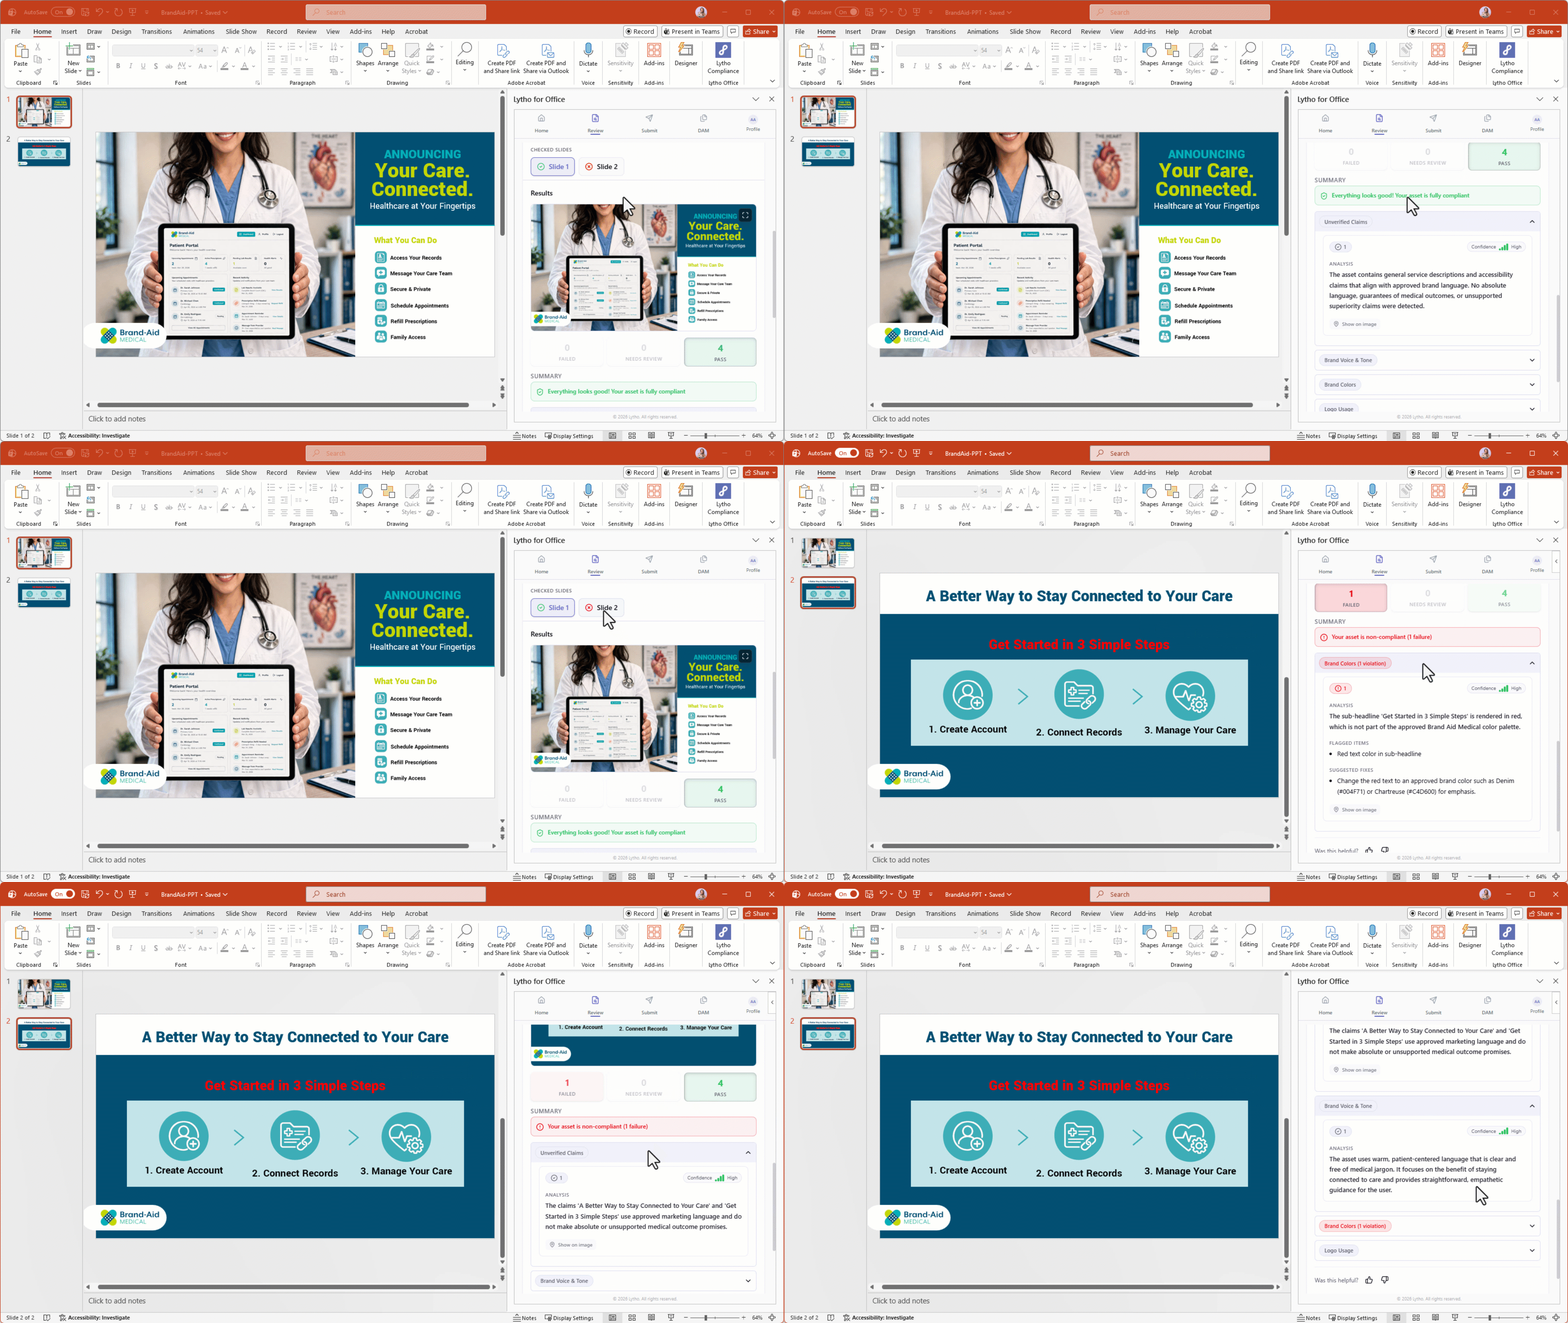
After running a compliance check, each reviewed slide displays an overall finding under CHECKED SLIDES section. Select a slide to view its detailed results.
Your results will be grouped into three finding states:
-
Failed: The content does not meet compliance requirements and requires updates.
-
Needs Review (Warning): A potential issue was detected, but the AI Reviewer is not fully certain. These should be reviewed carefully, as they may still require updates.
-
Pass: The content meets the selected compliance criteria and no issues were detected.
Lytho Pro Tip: Iterate based on compliance check results. Make updates and run your content through the add-in multiple times to ensure it meets brand and regulatory standards.
Depending on the finding state you select (Failed, Review, or Pass) additional insights will be available, including:
-
Confidence Rating – How certain the AI is in its assessment
-
Analysis – Explanation of why the content passed or was flagged
-
Flagged Items – Specific sections of content that were identified
-
Suggested Fix – Recommended updates to resolve issues
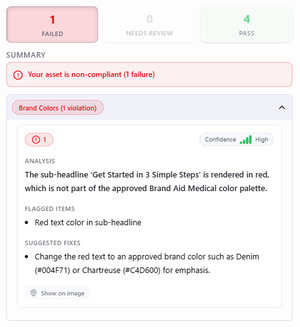
If a fix is suggested, select Show on image at the end of the analysis to highlight the area of the slide where the suggested edit applies.
Additionally, you can Clear the extension to review another asset, or select Submit Asset if you need additional support.

Submit a Proof
From the home screen, select Submit.
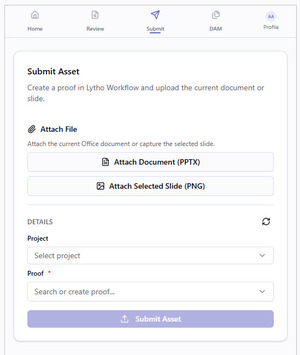
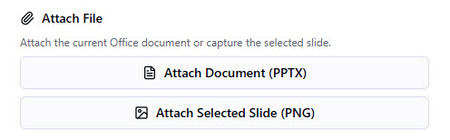
There are two options for attaching files to your Workflow submission:
-
Attach Document (PPTX) – Attaches the entire PowerPoint presentation.
-
Attach Selected Slide (PNG) – Attaches the slide currently displayed in PowerPoint as a PNG image.
Lytho Pro Tip: For full text markup capabilities in Reviews, including highlighting, text insertion, and search, use the PowerPoint desktop app. Proofs created from PowerPoint in a browser will not contain selectable text due to a Microsoft limitation.
Once your asset is added, select the Lytho Project where the asset should be submitted using the Project dropdown.
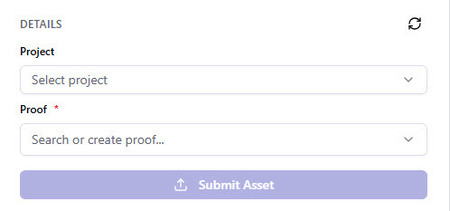
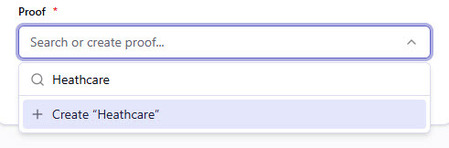
Choose an existing Proof from the list if one already exists.
Or begin typing to create a new Proof. As you type, existing Proof names will be suggested for comparison. Select + Create "Proof name" to create a new Proof if needed.
After all required information is entered, select Submit Asset to send the file into Lytho for review.

After selecting Submit Asset, you will see a confirmation that your asset has been successfully submitted.
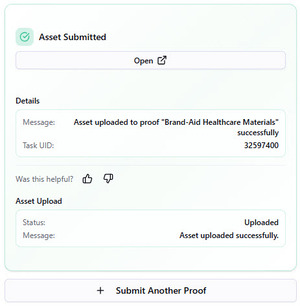
You can select Open to view the associated Project in Lytho.

Or select + Submit Another Proof to return to the Submit panel and upload another asset.

Submitting an asset does not send the Proof for review. This action only adds the asset to the Proof. To route and send the Proof for approval, open the associated Proof in Lytho and follow your review workflow.