You can customize approval statuses in Reviews to match your team's actual process. Instead of generic stages, set up statuses that reflect how your organization really makes decisions, creating a clearer audit trail, more consistent workflows, and stronger content governance across every review.
TABLE OF CONTENTS
• Adding a New Custom Approval Status
• Editing an Existing Custom Approval Status
• Deleting a Custom Approval Status
Adding a New Custom Approval Status
Access to Account Settings is managed by the permission Manage Account Settings.
Navigate to Account Settings and select Custom Statuses from the Settings sub-navigation to access your custom statuses.
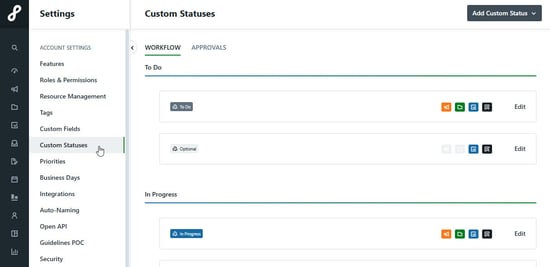
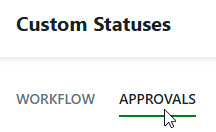
By default, you will land on the WORKFLOW tab. Select the APPROVALS tab.
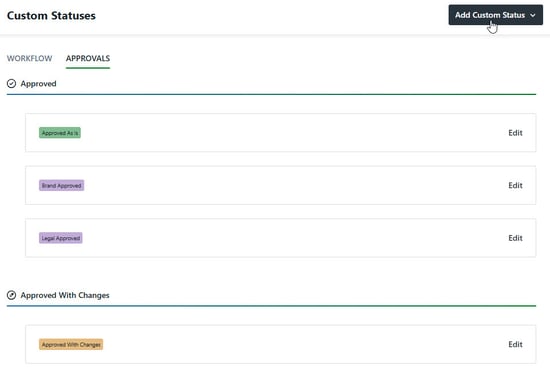
Select Add Custom Status in the top right corner to add a new status.
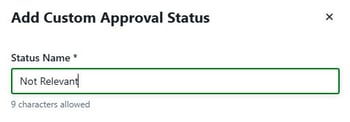
Enter a name for your custom status that will be easily recognizable to your organizations and correlates with the status state.
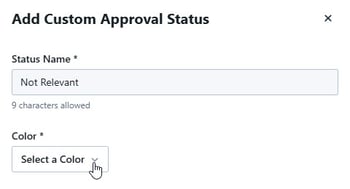
Click Select a Color to choose a color for your status. This color will be reflected in the status button. Consider how your users will associate your status with a color. We recommend using similar colors within each state.
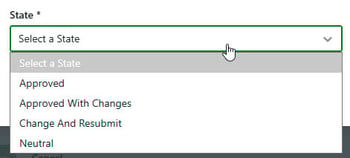
Click the the dropdown under State to select your status state. Statuses cannot be shifted from one state to another so we recommend taking time to consider which state best defines your status.
The state you select also determines how the status can be used within your Review Route tier logic. and what is displayed in the Proof overview. Choosing the appropriate state helps ensure Reviews progress through approval tiers as intended while maintaining a clear and accurate audit trail.
The states are generally defined as follows:
-
Approved – Indicates the asset has been approved and requires no further changes. Some examples of custom statuses in this state might be Brand Approved, Legal Approved, or Marketing Approved.
-
Approved with Changes – Indicates the asset has been approved with minor revisions that do not require another Review. Some examples of custom statuses in this state might be Approved with Changes or Approved Pending Edits..
-
Change and Resubmit – Indicates the asset has been rejected and should not proceed in its current form. Some examples of custom statuses in this state might be Rejected or Declined.
-
Neutral – Indicates the Reviewer is not approving or rejecting the asset. Neutral statuses are useful for Reviewers who do not need to take action or whose review is informational only. Some examples of custom statuses in this state might be Not Relevant or Acknowledged.
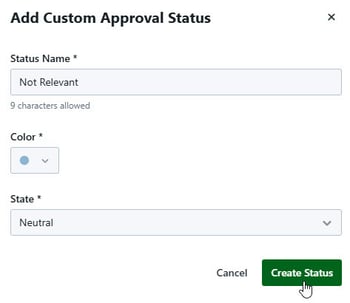
Select Create Status to confirm your selections.
Reorder your statuses using the drag and drop handles to the left of each status. The order of your statuses determines the order Reviewers will see when setting their approval status.
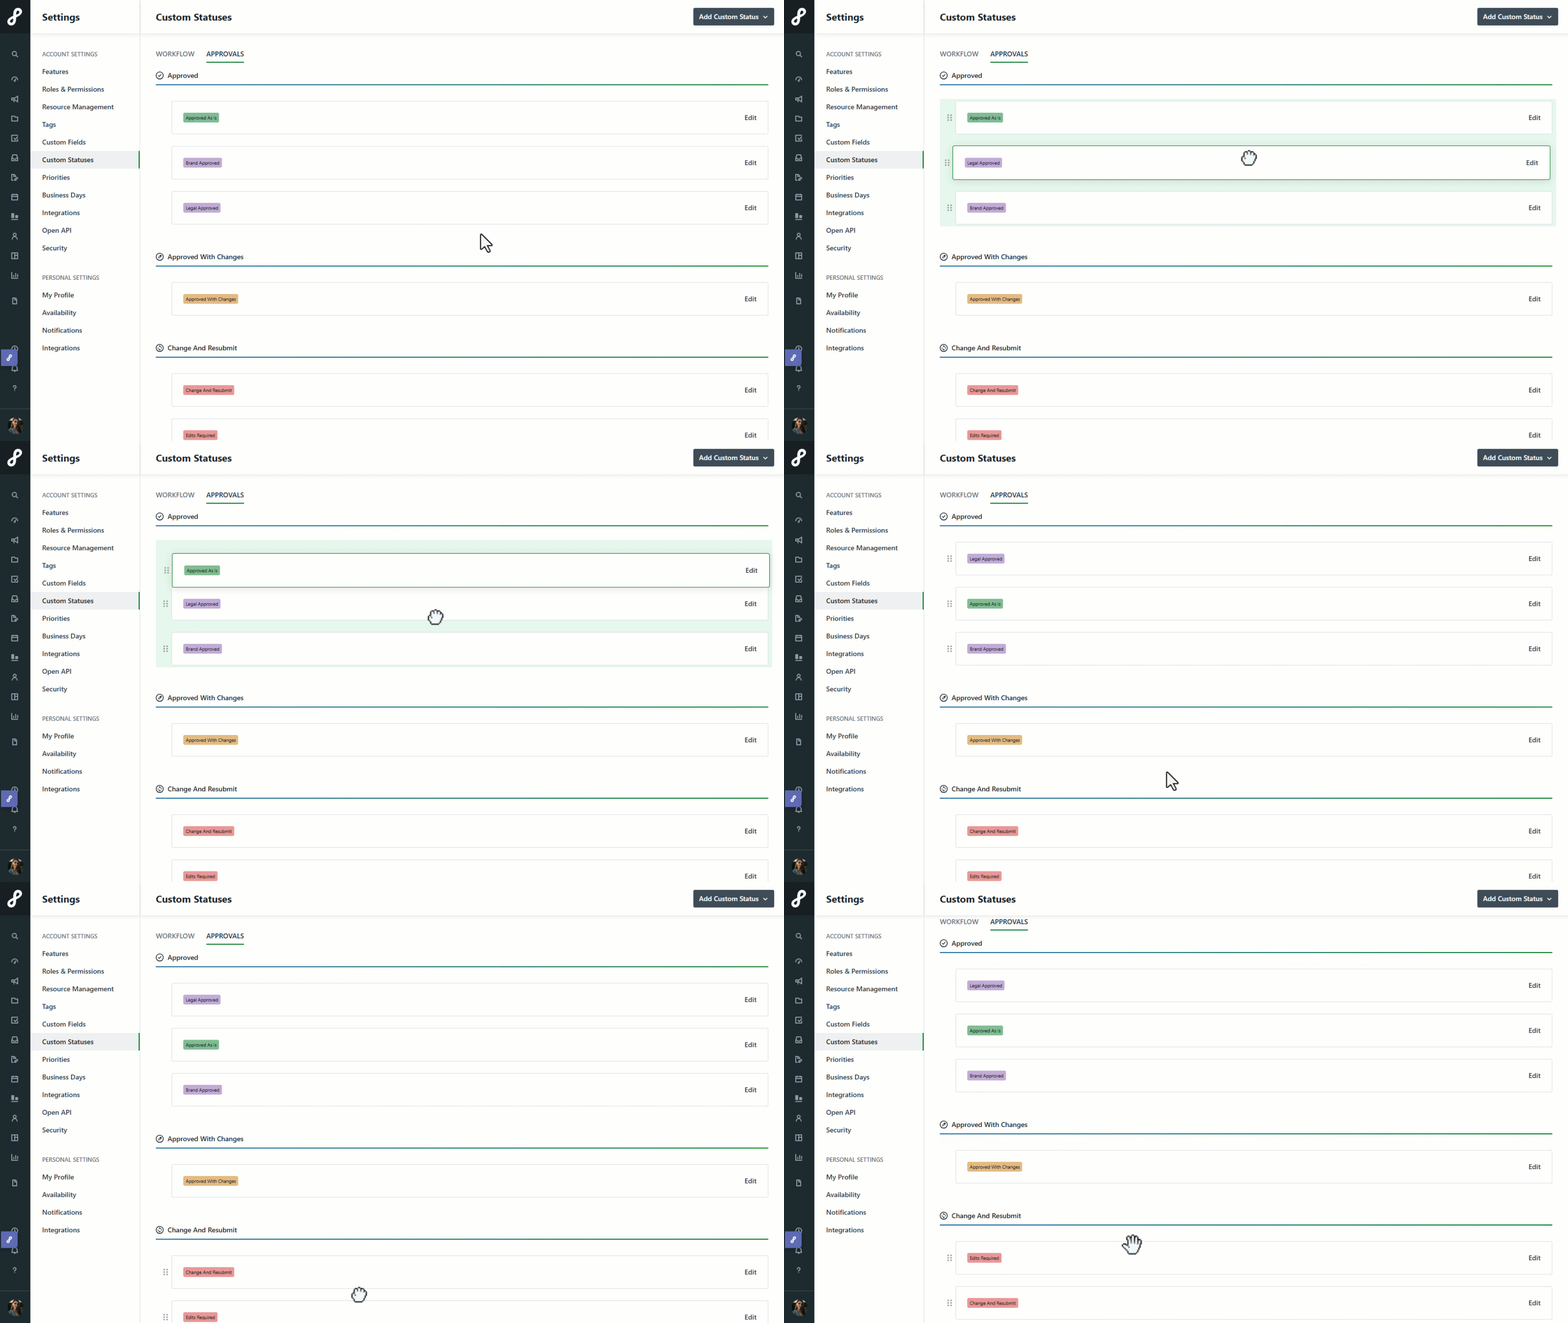
Statuses cannot be edited to shift from one state to another. If you find that a status you have created needs to belong to a different state, we recommend deleting the status and then re-create in the desired state.
Editing an Existing Custom Approval Status
Navigate to the APPROVALS tab under Custom Statuses in the Account Setting sub-navigation and click Edit to the right of the custom status you wish to edit.
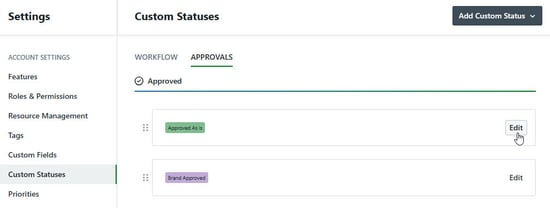
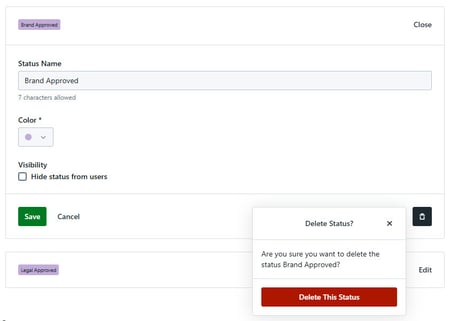
Once a status is applied to a Review, you can adjust the status Color and the Visibility of the status. To hide a status from future reviews, select the Hide status from users checkbox. Hidden statuses remain available in historical review data but are no longer available for selection on new Review versions.
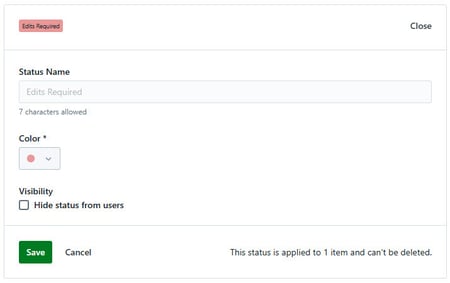
Once a Custom Approval Status has been applied in a Review, it cannot be renamed or deleted. Any changes to your statuses will apply only to new Review versions, ensuring all Reviewers on the same Review version have a consistent experience while preserving an accurate audit trail.